Use Terminal
Users familiar with Kubernetes and container fundamentals may opt to deploy applications using the Terminal app. This guide will show you how to use the terminal for deployment, using Nginx as an example.
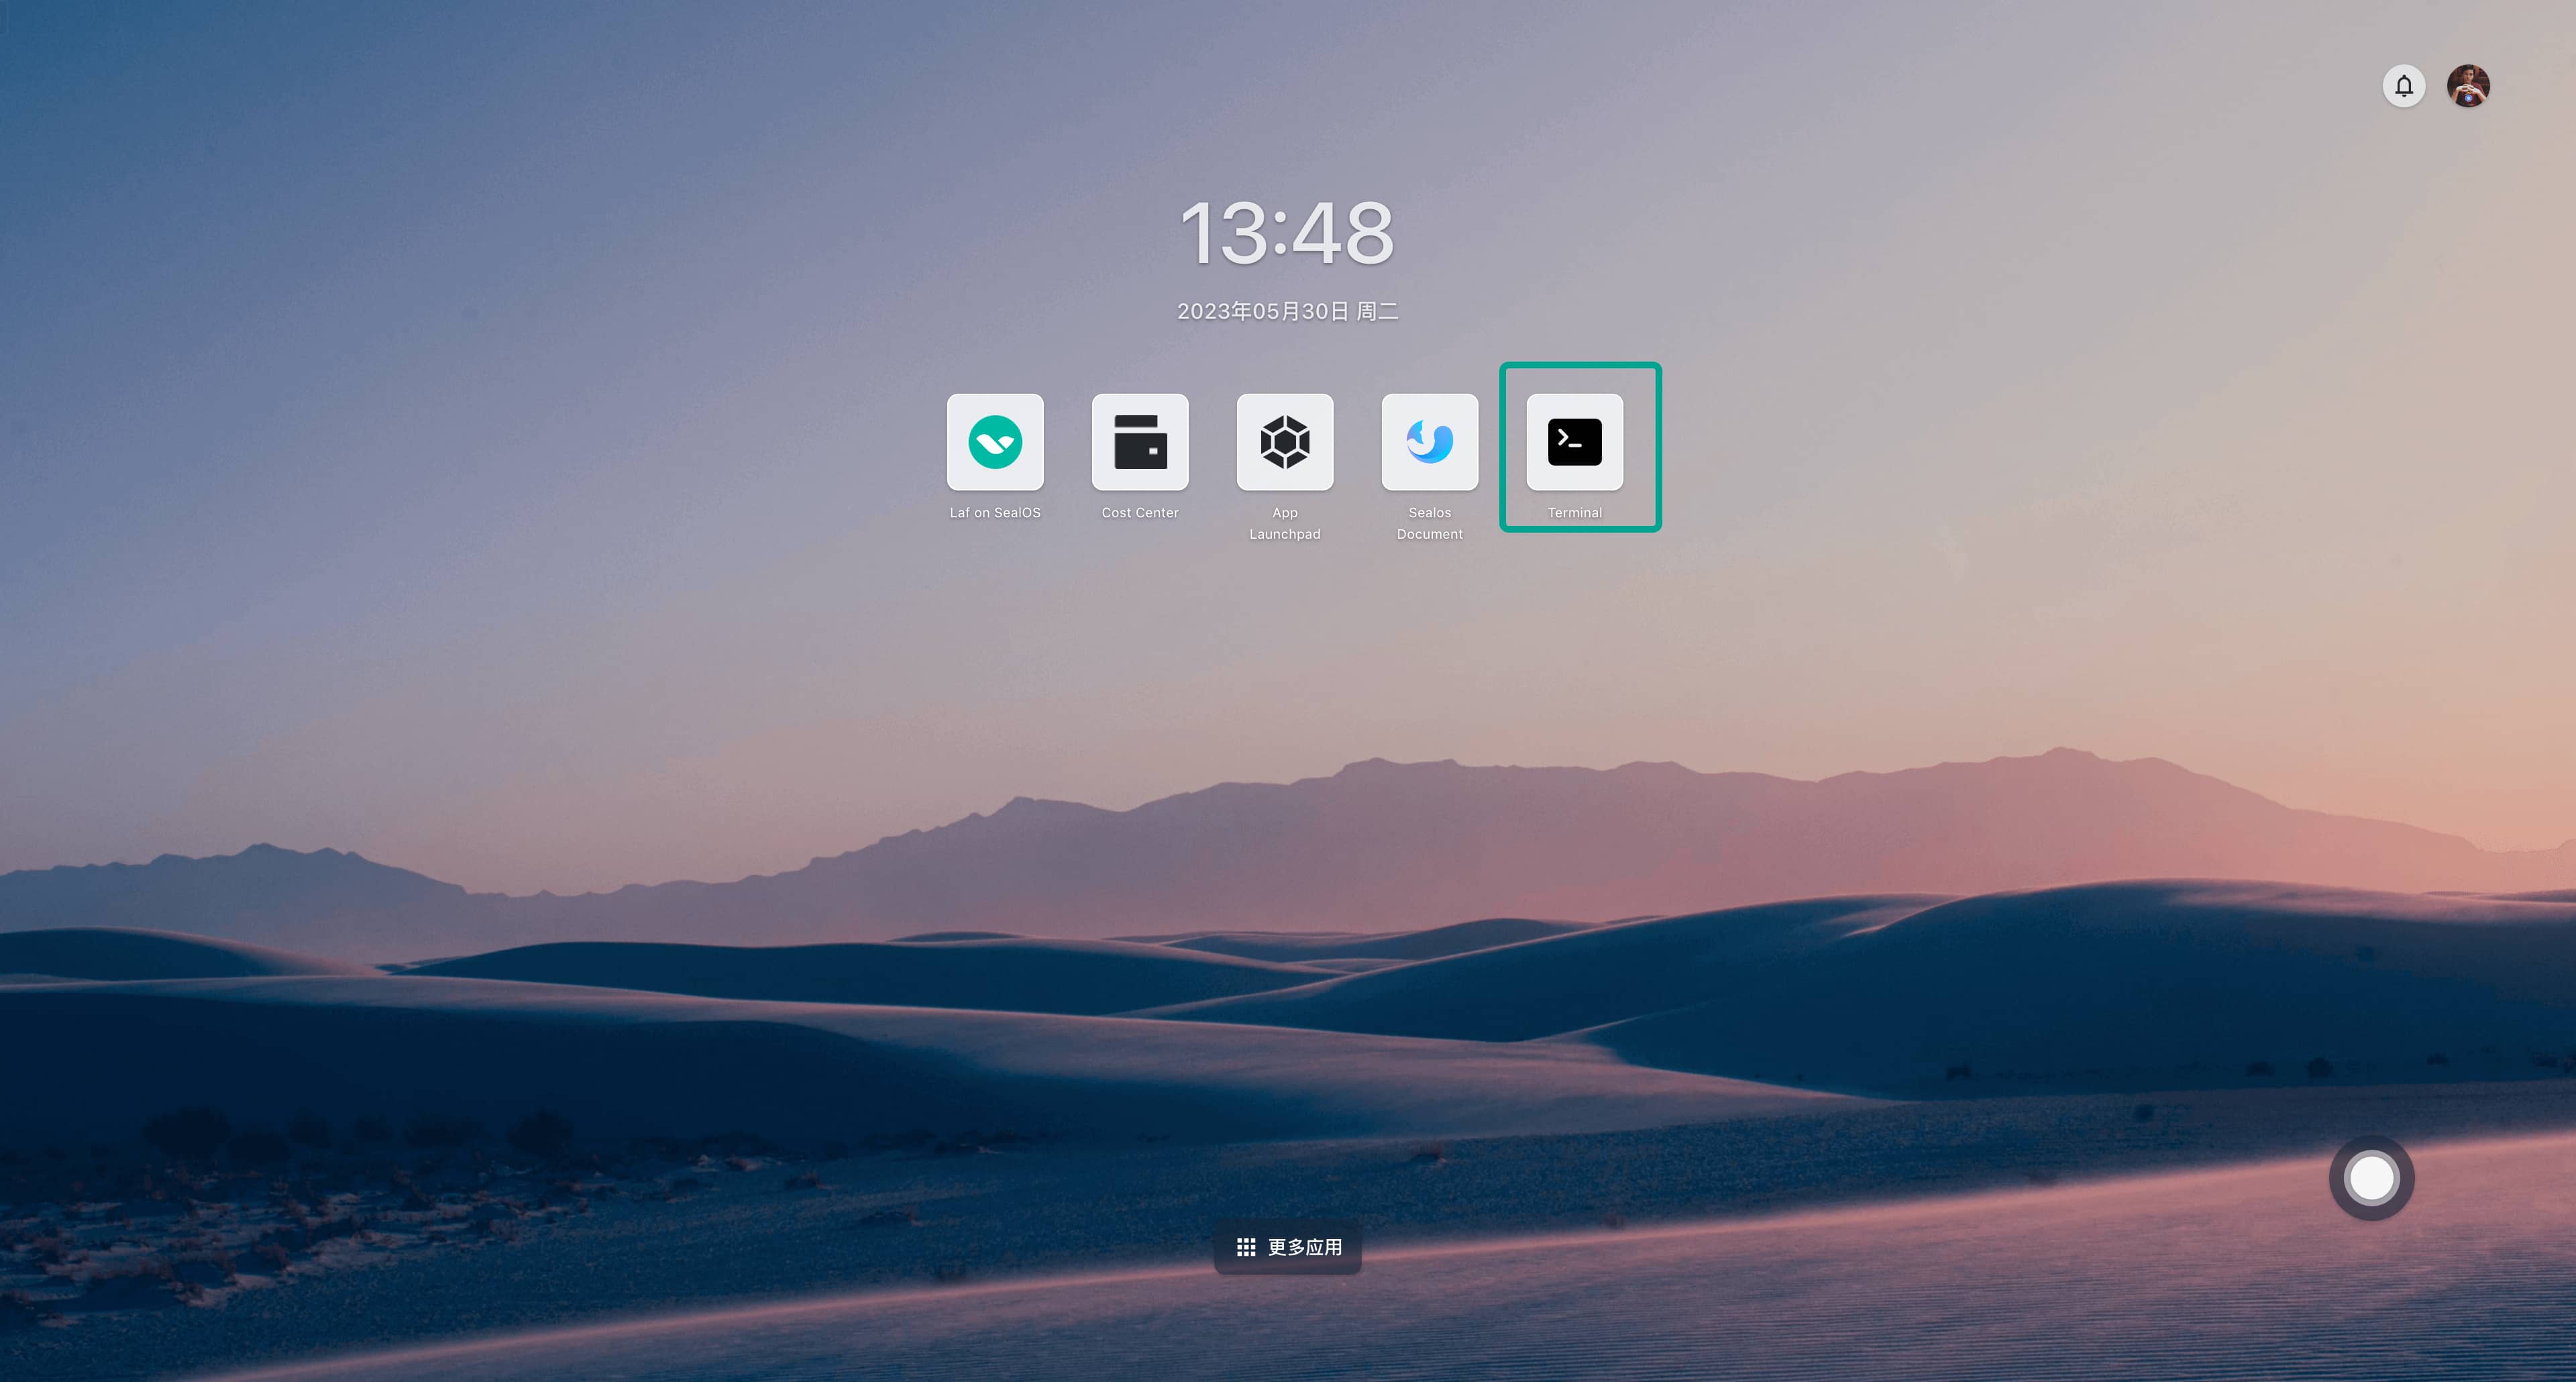
Start by launching the Terminal app within the Sealos desktop.
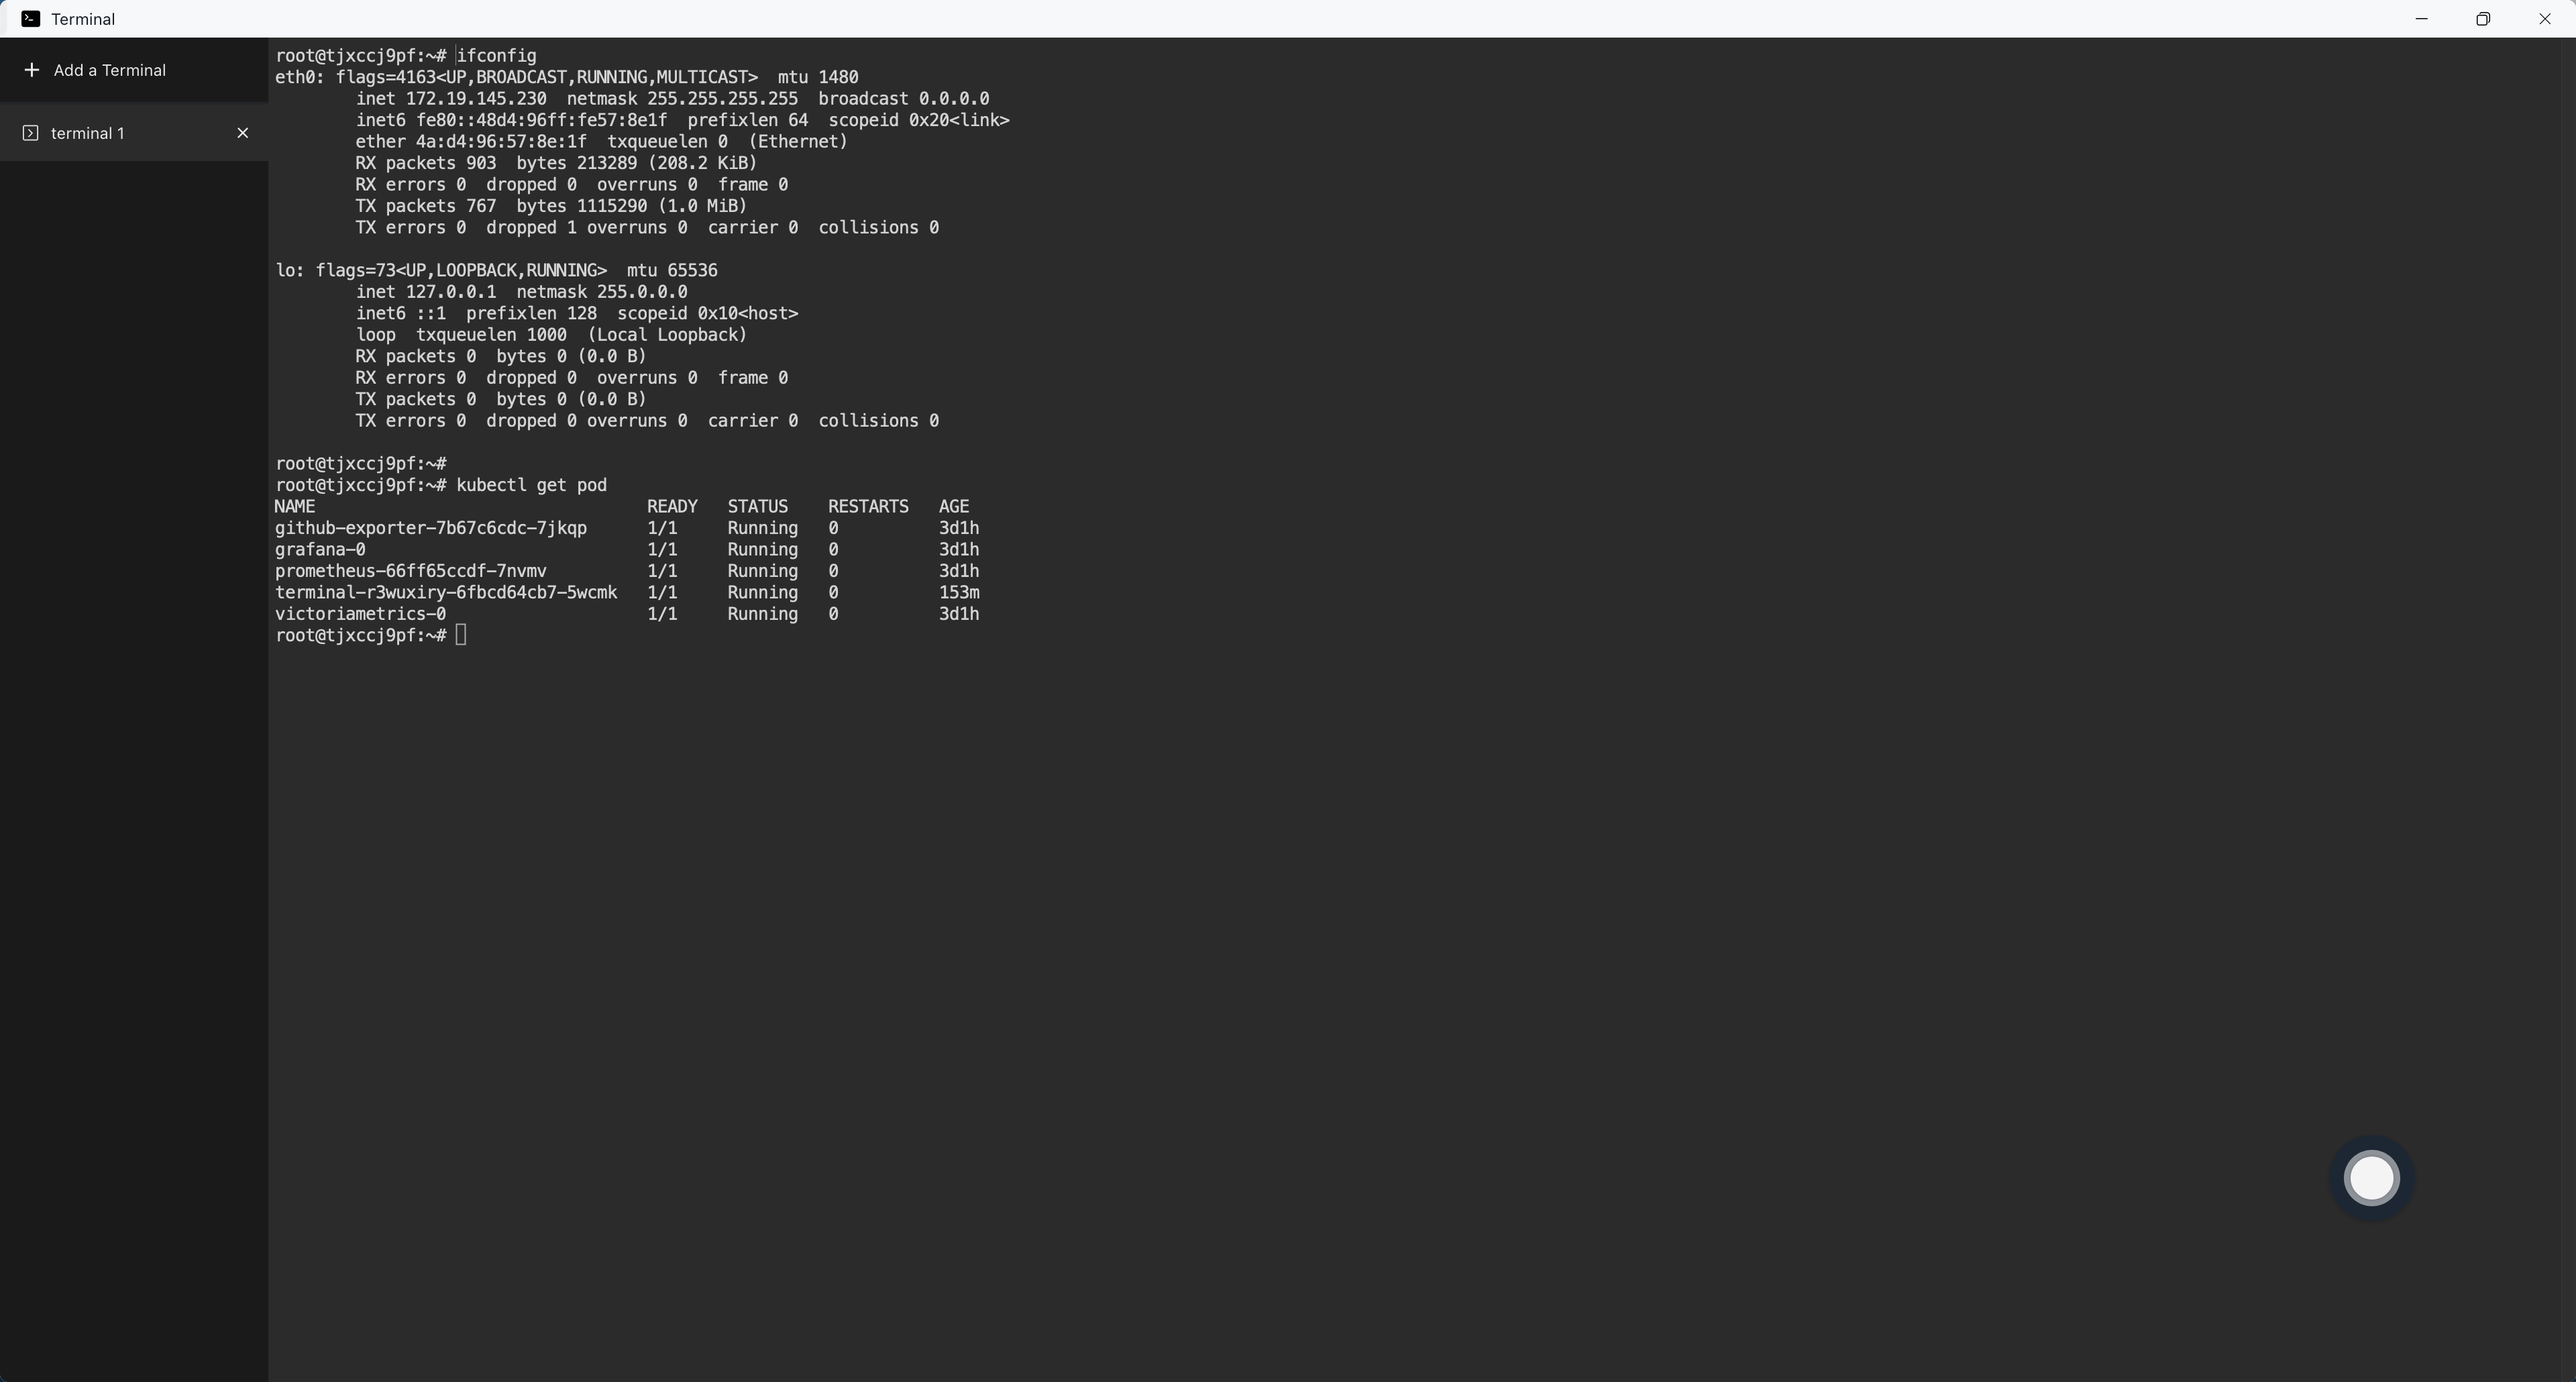
Upon opening the Terminal app, a terminal window is automatically allocated, enabling you to execute various command-line operations.
① Begin by creating a deployment manifest for Nginx Deployment:
# deployment.yaml
apiVersion: apps/v1
kind: Deployment
metadata:
  name: nginx
  labels:
    app: nginx
spec:
  replicas: 1
  selector:
    matchLabels:
      app: nginx
  template:
    metadata:
      labels:
        app: nginx
    spec:
      containers:
      - name: nginx
        image: nginx:1.14.2
        ports:
        - containerPort: 80
        resources:
          requests:
            cpu: 0.2
            memory: 32Mi
          limits:
            cpu: 0.2
            memory: 32Mi
② Subsequently, create a deployment manifest for Nginx Service:
# service.yaml
apiVersion: v1
kind: Service
metadata:
  name: nginx
  labels:
    app: nginx
spec:
  type: ClusterIP
  ports:
    - port: 80
      targetPort: 80

  selector:
    app: nginx
③ Deploy both the Deployment and Service by executing the following:
kubectl apply -f deployment.yaml
kubectl apply -f service.yaml
Verify Nginx's accessibility:
$ kubectl get pod -l app=nginx
NAME                     READY   STATUS    RESTARTS   AGE
nginx-7546c75fb4-572x9   1/1     Running   0          5m37s

$ kubectl get svc -l app=nginx
NAME    TYPE        CLUSTER-IP      EXTERNAL-IP   PORT(S)   AGE
nginx   ClusterIP   10.64.204.173   <none>        80/TCP    5m36s

$ curl 10.64.204.173
<!DOCTYPE html>
<html>
<head>
<title>Welcome to nginx!</title>
<style>
    body {
        width: 35em;
        margin: 0 auto;
        font-family: Tahoma, Verdana, Arial, sans-serif;
    }
</style>
</head>
<body>
<h1>Welcome to nginx!</h1>
<p>If you see this page, the nginx web server is successfully installed and
working. Further configuration is required.</p>

<p>For online documentation and support please refer to
<a href="http://nginx.org/">nginx.org</a>.<br/>
Commercial support is available at
<a href="http://nginx.com/">nginx.com</a>.</p>

<p><em>Thank you for using nginx.</em></p>
</body>
</html>
④ To expose Nginx to the internet and access it via a public domain, create an Ingress resource. Start by creating a deployment manifest:
# ingress.yaml
apiVersion: networking.k8s.io/v1
kind: Ingress
metadata:
  annotations:
    kubernetes.io/ingress.class: nginx
    nginx.ingress.kubernetes.io/backend-protocol: HTTP
    nginx.ingress.kubernetes.io/client-body-buffer-size: 64k
    nginx.ingress.kubernetes.io/proxy-body-size: 32m
    nginx.ingress.kubernetes.io/proxy-buffer-size: 64k
    nginx.ingress.kubernetes.io/server-snippet: |
      client_header_buffer_size 64k;
      large_client_header_buffers 4 128k;
    nginx.ingress.kubernetes.io/ssl-redirect: "false"
  name: nginx
spec:
  rules:
  - host: nginx.cloud.sealos.io
    http:
      paths:
      - backend:
          service:
            name: nginx
            port:
              number: 80
        path: /
        pathType: Prefix
  tls:
  - hosts:
    - nginx.cloud.sealos.io
    secretName: wildcard-cloud-sealos-io-cert
⑤ Deploy the Ingress resource:
$ kubectl apply -f ingress.yaml
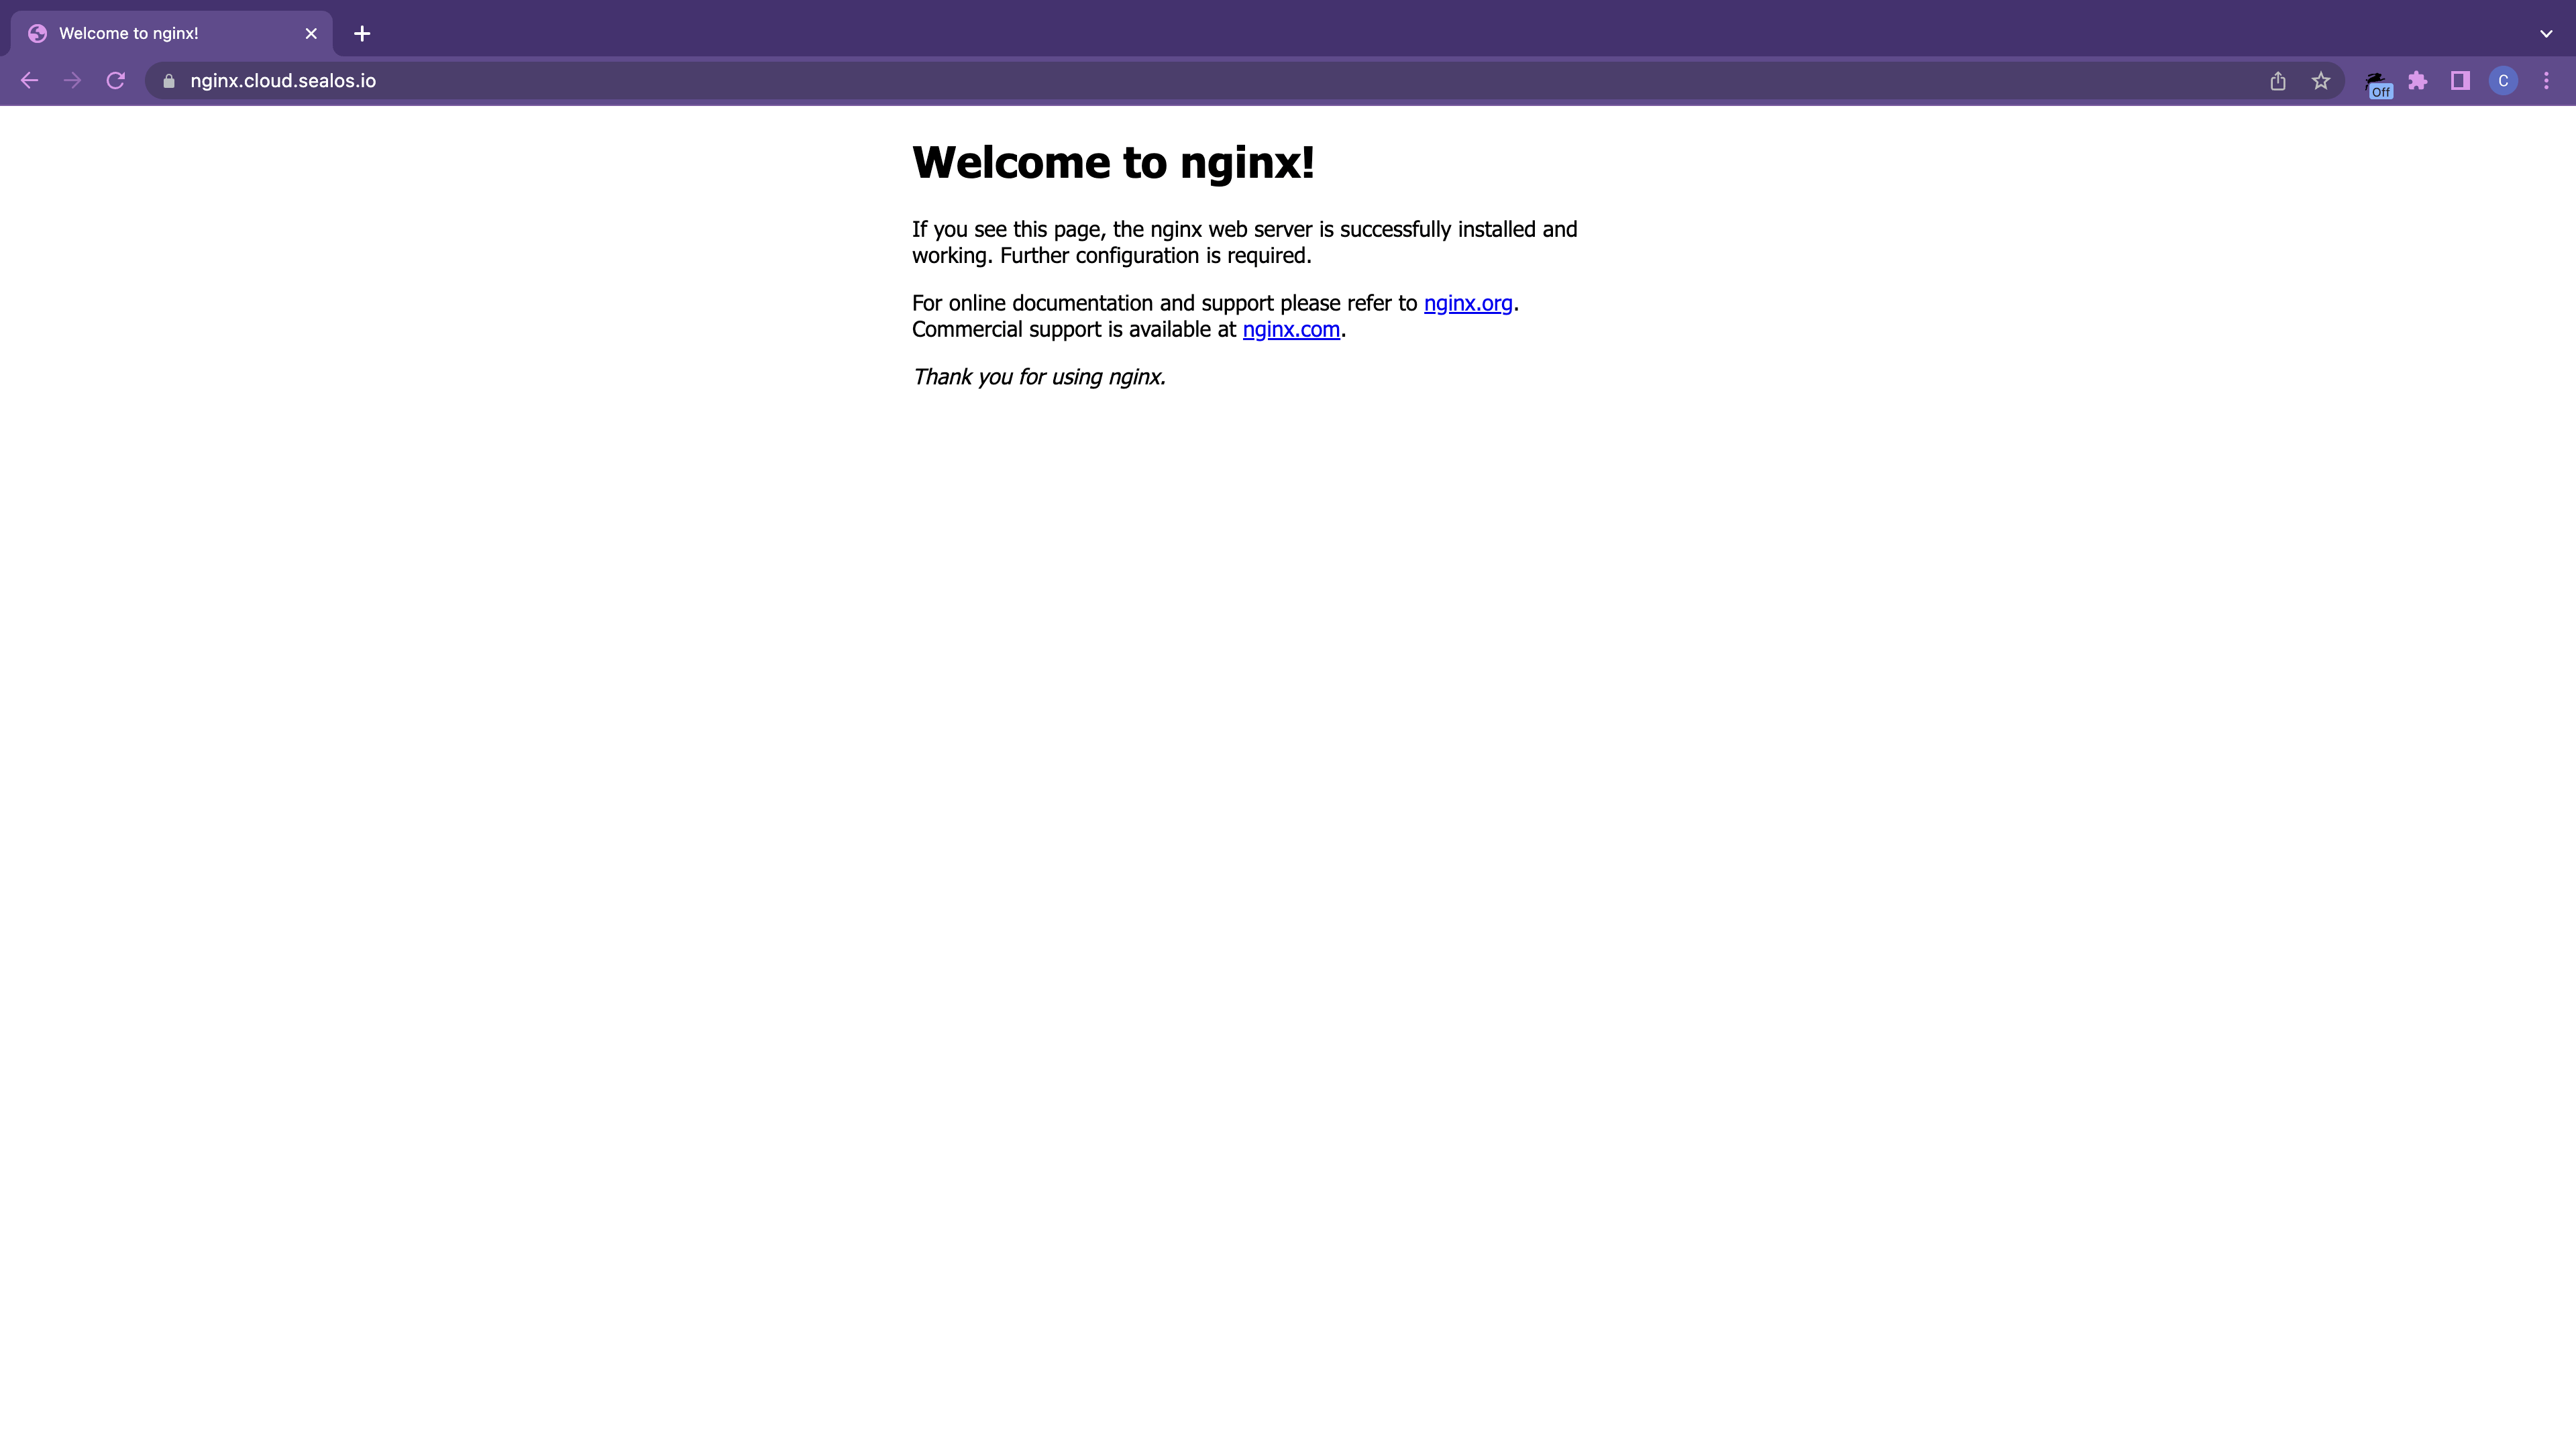
⑥ Confirm the Nginx's accessibility through the public domain: