Quick installation of Tailchat
Tailchat is an open source IM application that is pluggable and easy to expand. Plugin architecture gives Tailchat unlimited possibilities.
Front-end micro-kernel architecture + back-end micro-service architecture makes Tailchat to control any customized/privatized scenarios
Created for enterprises and private domain users, highly free group management and customized panel display allow private domain owners to better display their works, manage users, and build their own brand and circle.
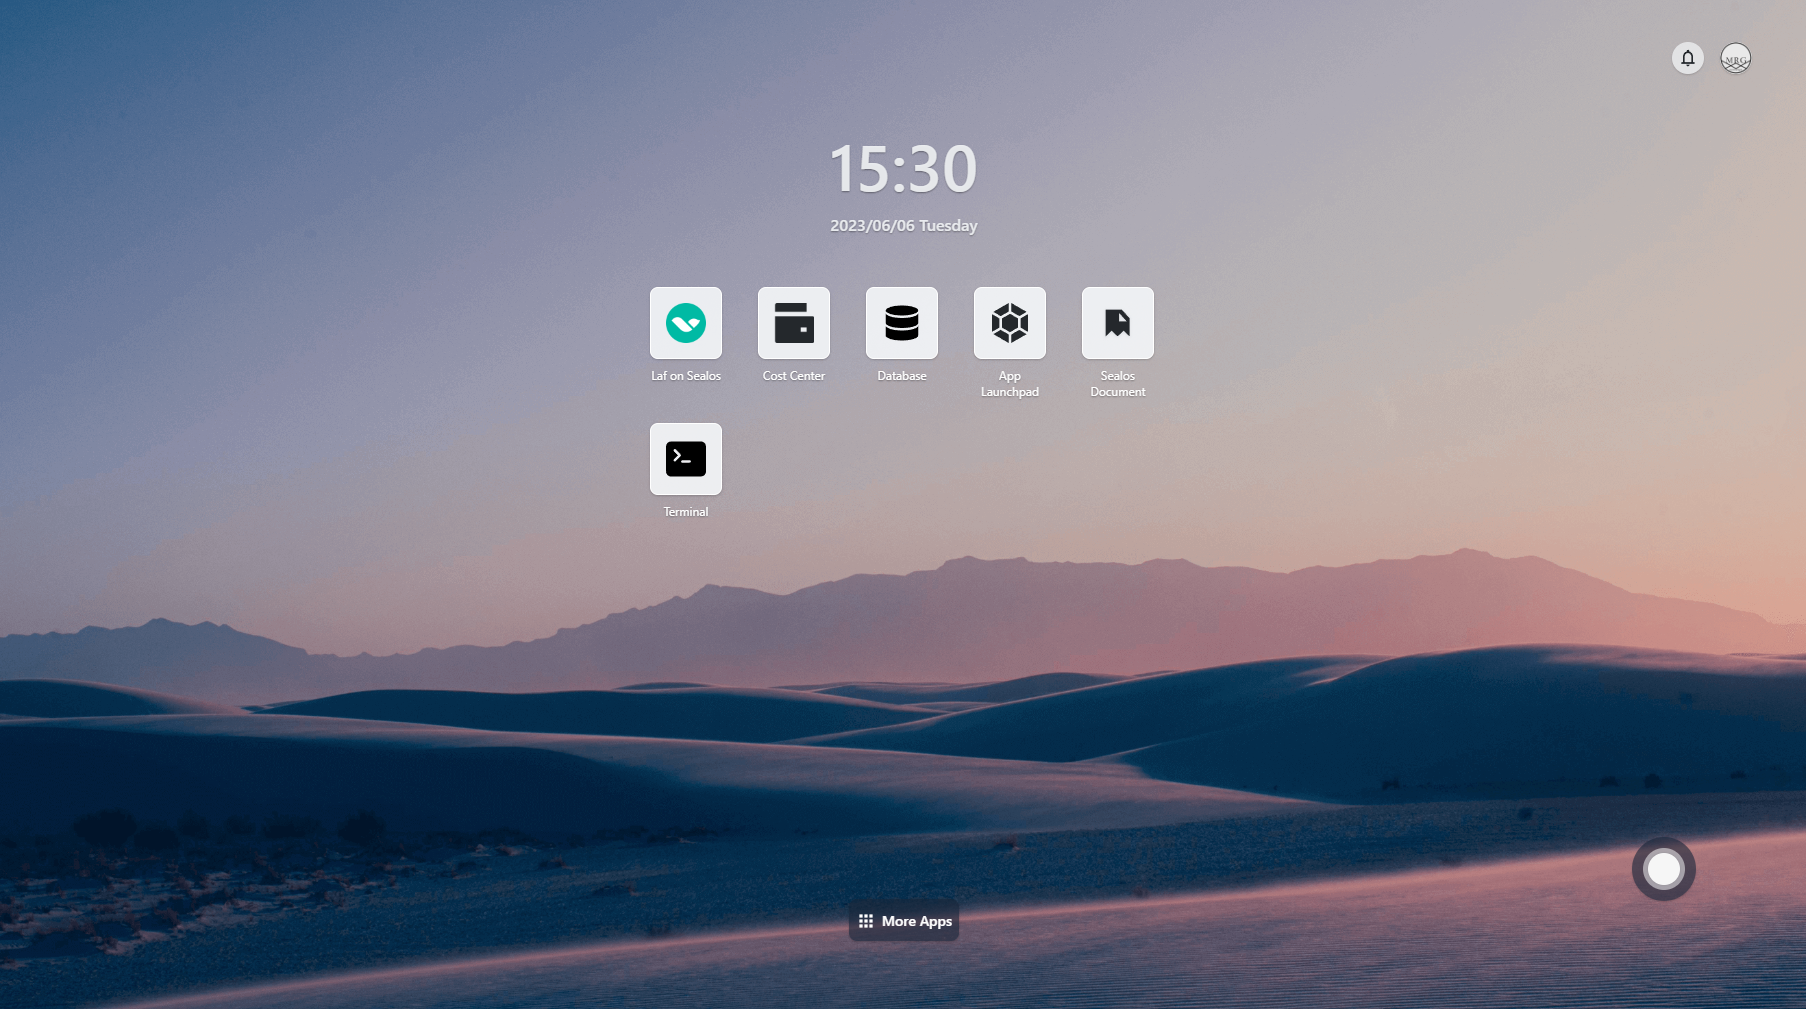
First, enter Sealos and open "Application Management"
Create a new application

Create dependencies
As an enterprise-level application, tailchat has the minimum dependencies of mongodb, redis, and minio. Let's create them one by one.
MongoDB
For convenience, we will fix one instance and bind it to local storage. The image used is mongo:4. Note that because we did not set a password for the database, do not provide network services to the public network. The container exposes port 27017, which is the default database service port. The content is as follows:
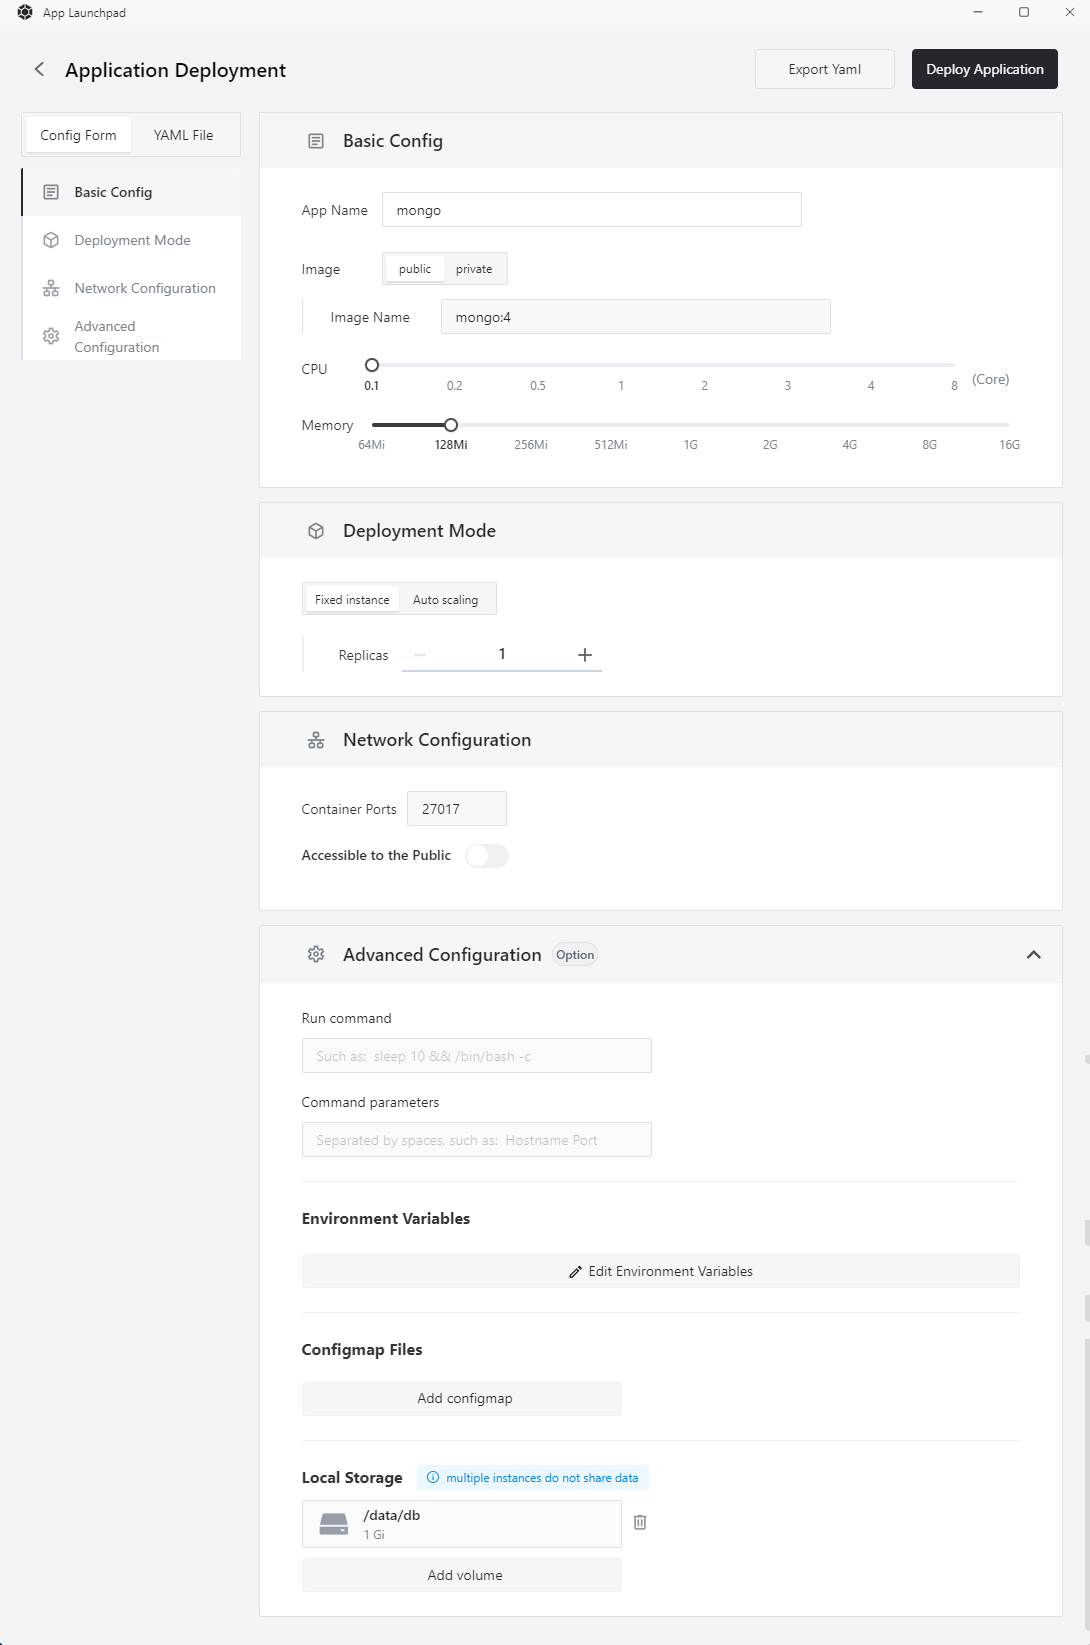
Click "Deploy Application" to submit the deployment. Wait patiently for a while, and you can see that the application has started up.
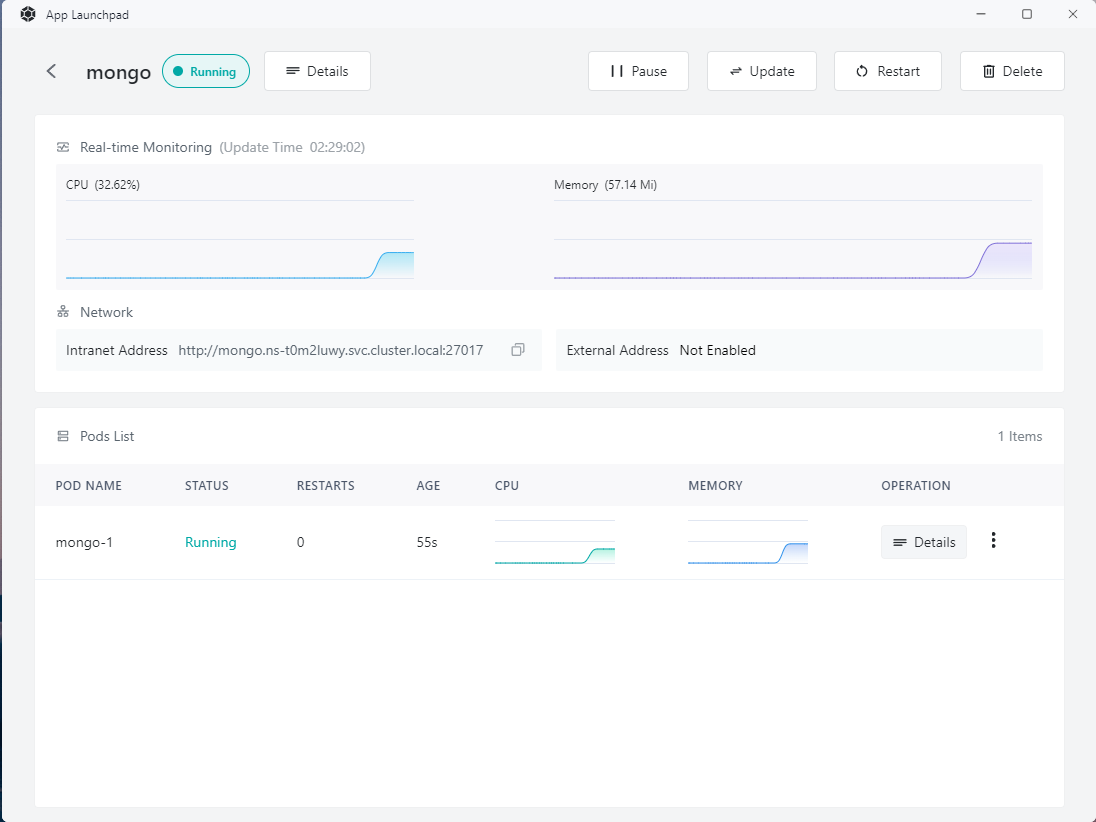
Note: that the initial allocation of 64m is too small for MongoDB, so I changed it to 128m by modifying the application. Resource allocation can be changed at any time, which is also a convenient feature of Sealos/Kubernetes.
Minio
Next, we will create Minio, an open-source object storage service. We can also quickly create it through Sealos's UI. The image used is minio/minio. Note that we need to make some adjustments:
- Expose port: 9000
- Change the run command to:
minio - Change the command parameters to:
server /data - Set environment variables:
- MINIO_ROOT_USER: tailchat
- MINIO_ROOT_PASSWORD: com.msgbyte.tailchat
- Local storage:
/data
The final result is as follows:
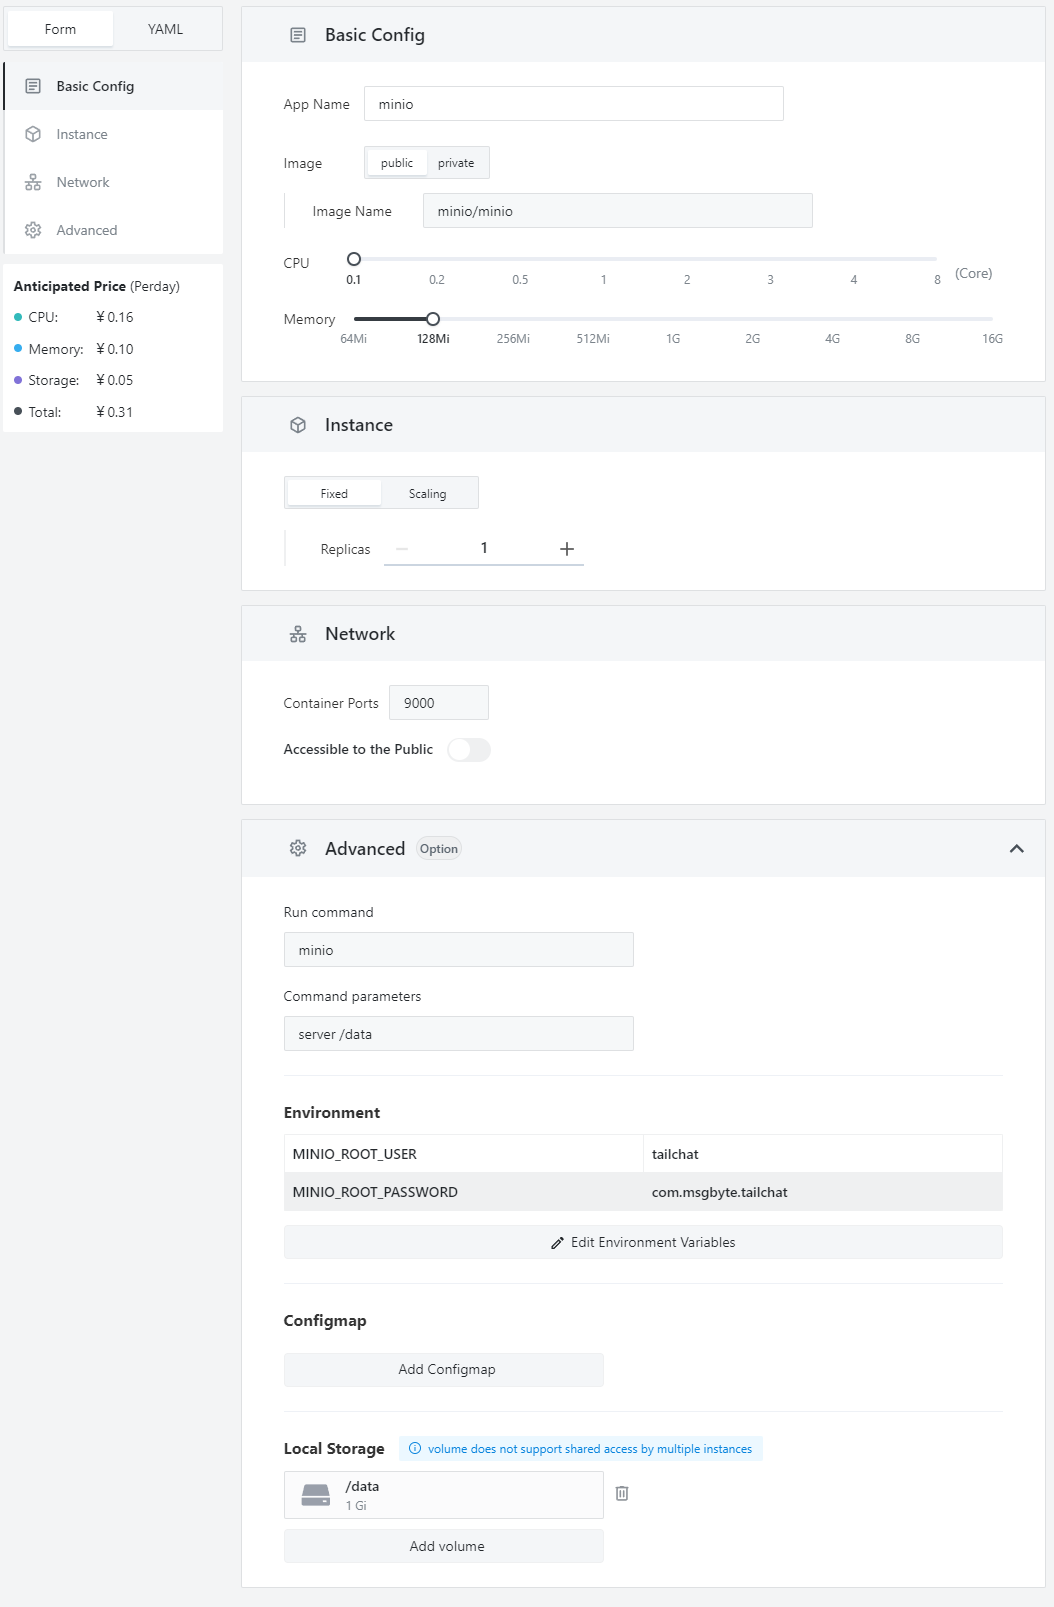
Click the "Deploy" button and you can see that the service has started up normally.
Redis
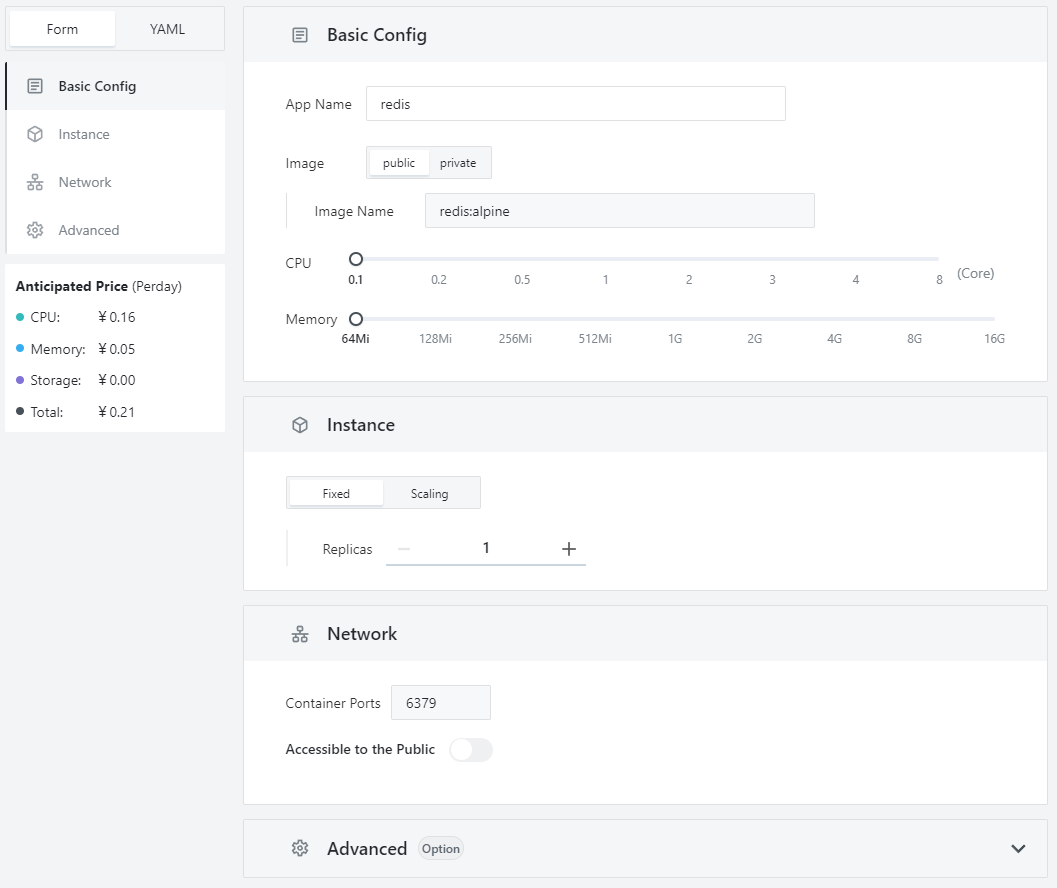
Finally, we need to deploy Redis as a content cache and message forwarding. The image used is redis:alpine, and the exposed port is 6379. The final result is as follows:
Create Tailchat itself
At this point, all the dependencies required by Tailchat have been deployed, as shown below:

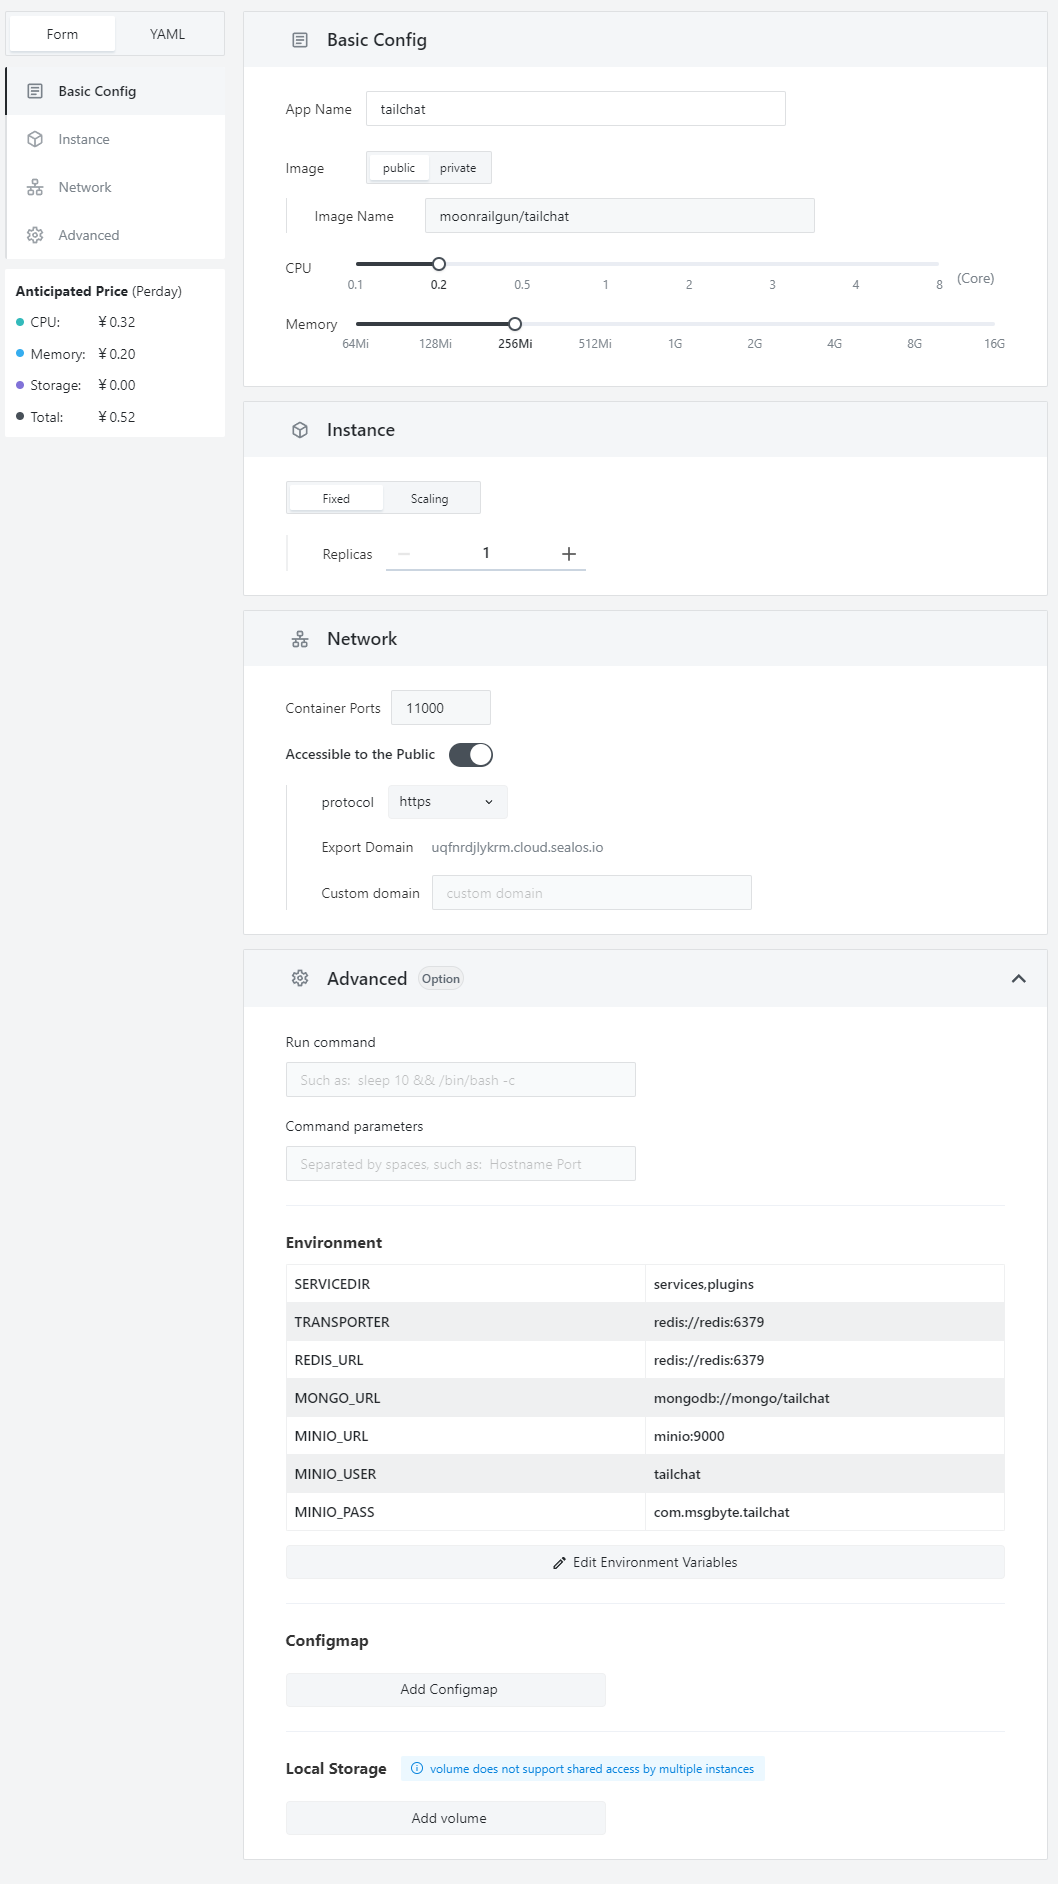
Now we can deploy the Tailchat itself. The Tailchat itself will be relatively complex, but because Sealos is purely UI-based, it will not be too complicated.
- Use image:
moonrailgun/tailchat - Expose port:
11000(remember to open external access) - Configure environment variables as follows:
SERVICEDIR=services,plugins
TRANSPORTER=redis://redis:6379
REDIS_URL=redis://redis:6379
MONGO_URL=mongodb://mongo/tailchat
MINIO_URL=minio:9000
MINIO_USER=tailchat
MINIO_PASS=com.msgbyte.tailchat
The final effect is as follows:
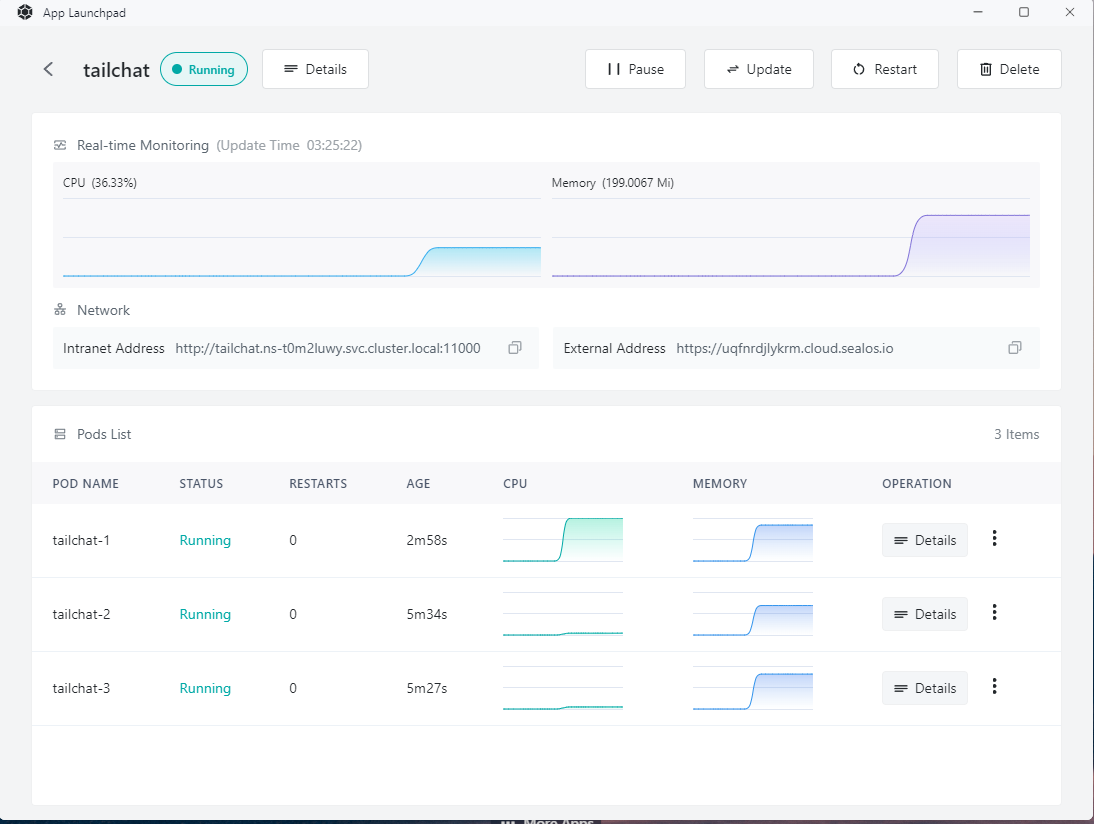
After waiting patiently for a while, you can see that the Tailchat service has started up.

Preview service
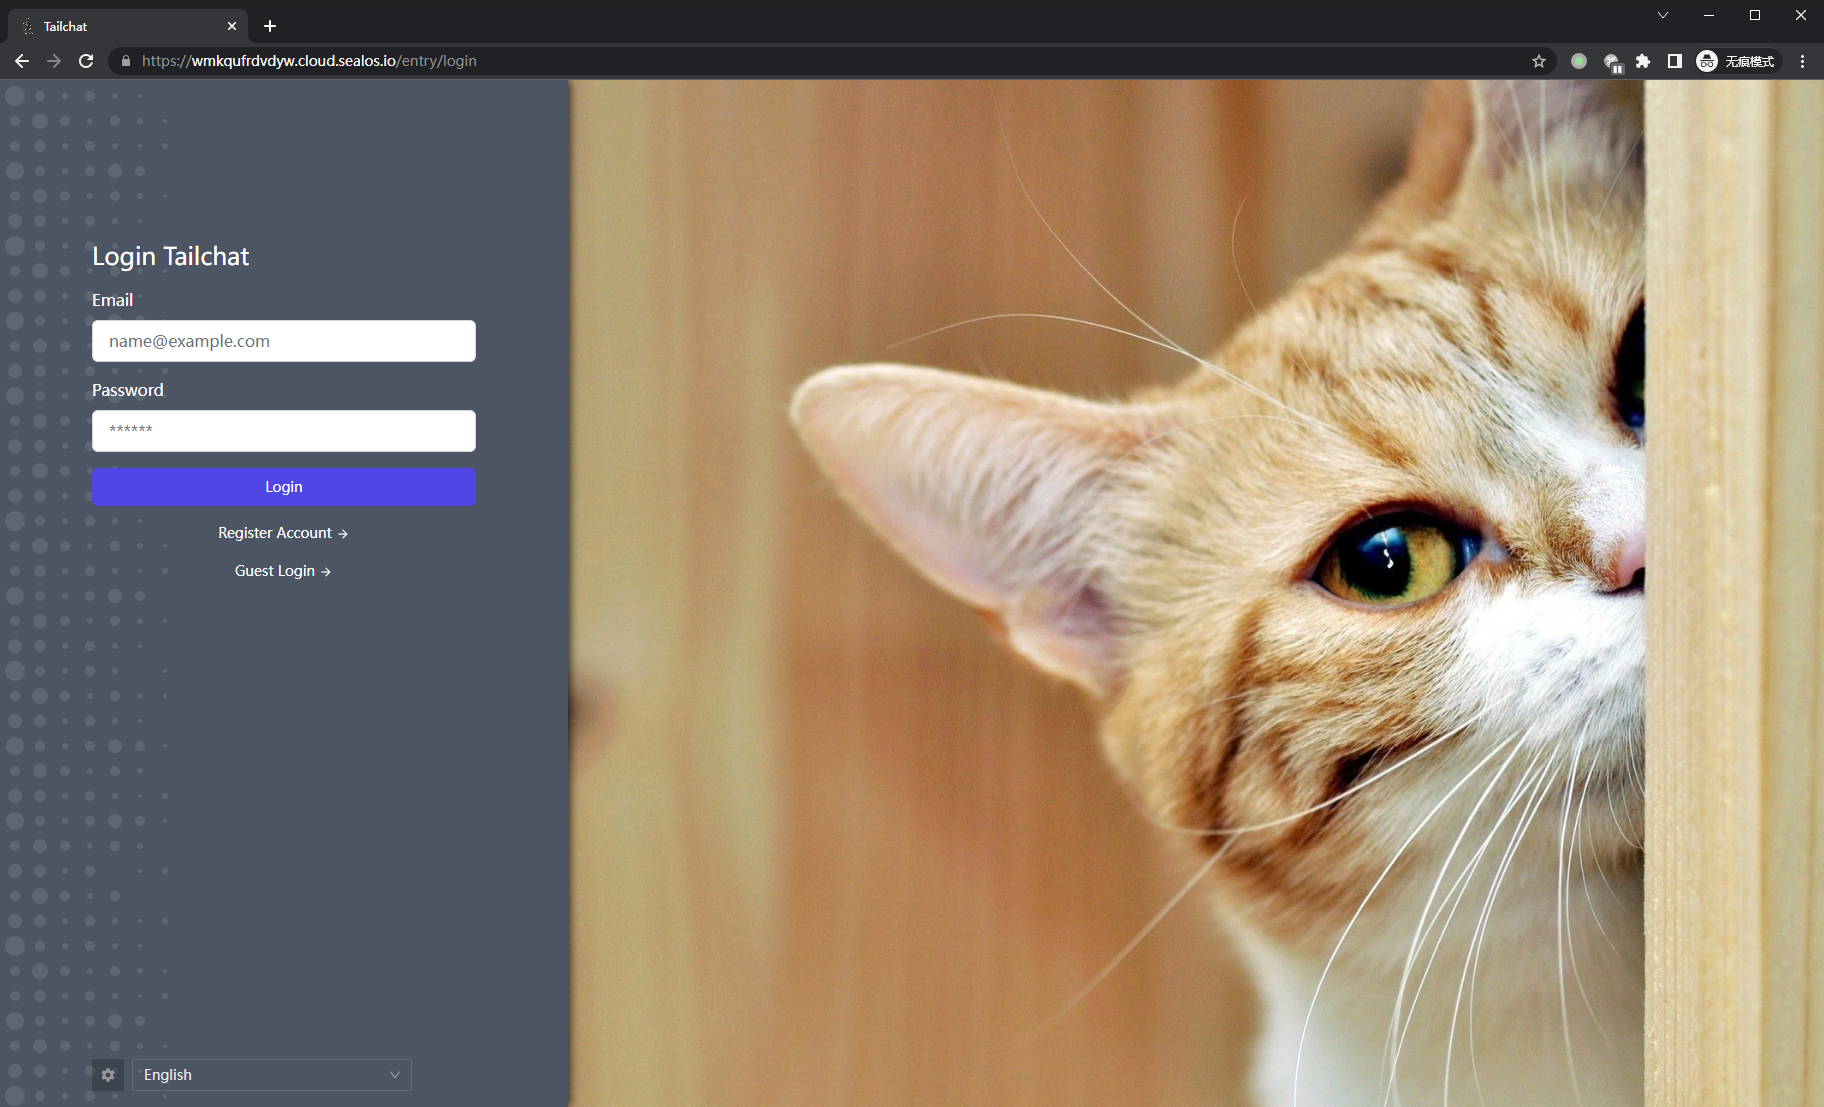
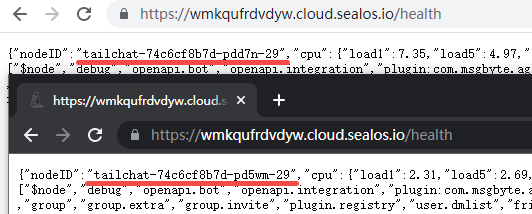
First, we can check the availability of the Tailchat service by adding /health to the external address provided by the service, such as https://<xxxxxxxxxx>.cloud.sealos.io/health. When it starts up, the Tailchat service will return content like this:

This JSON string contains the image version used, node name, system usage, and microservice loading status. Here we can see that my common services, such as user/chat.message, and some services with plugin prefixes such as plugin.registry, have all started up normally, indicating that our server is running normally. Now we can directly access our external address and see that after a short loading time, the page opens normally and automatically jumps to the login page.
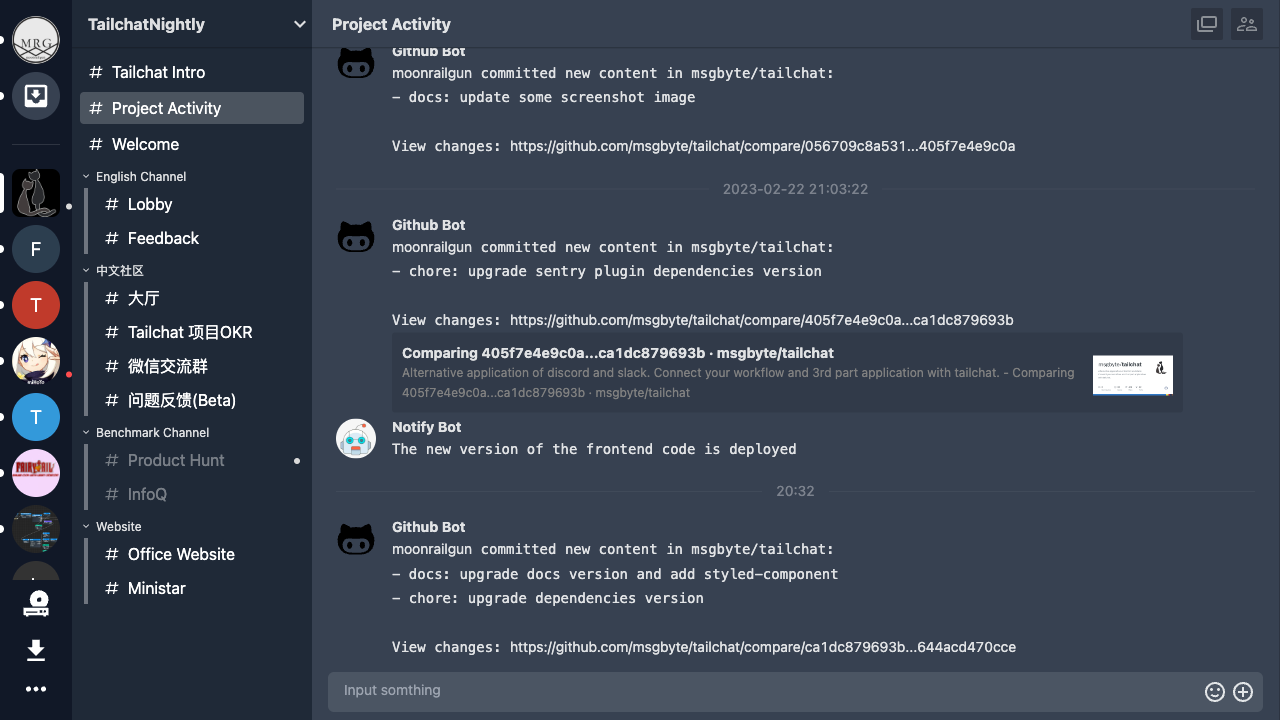
Register an account casually, and you can see that we can enter the main interface of Tailchat normally, as shown in the following figure:
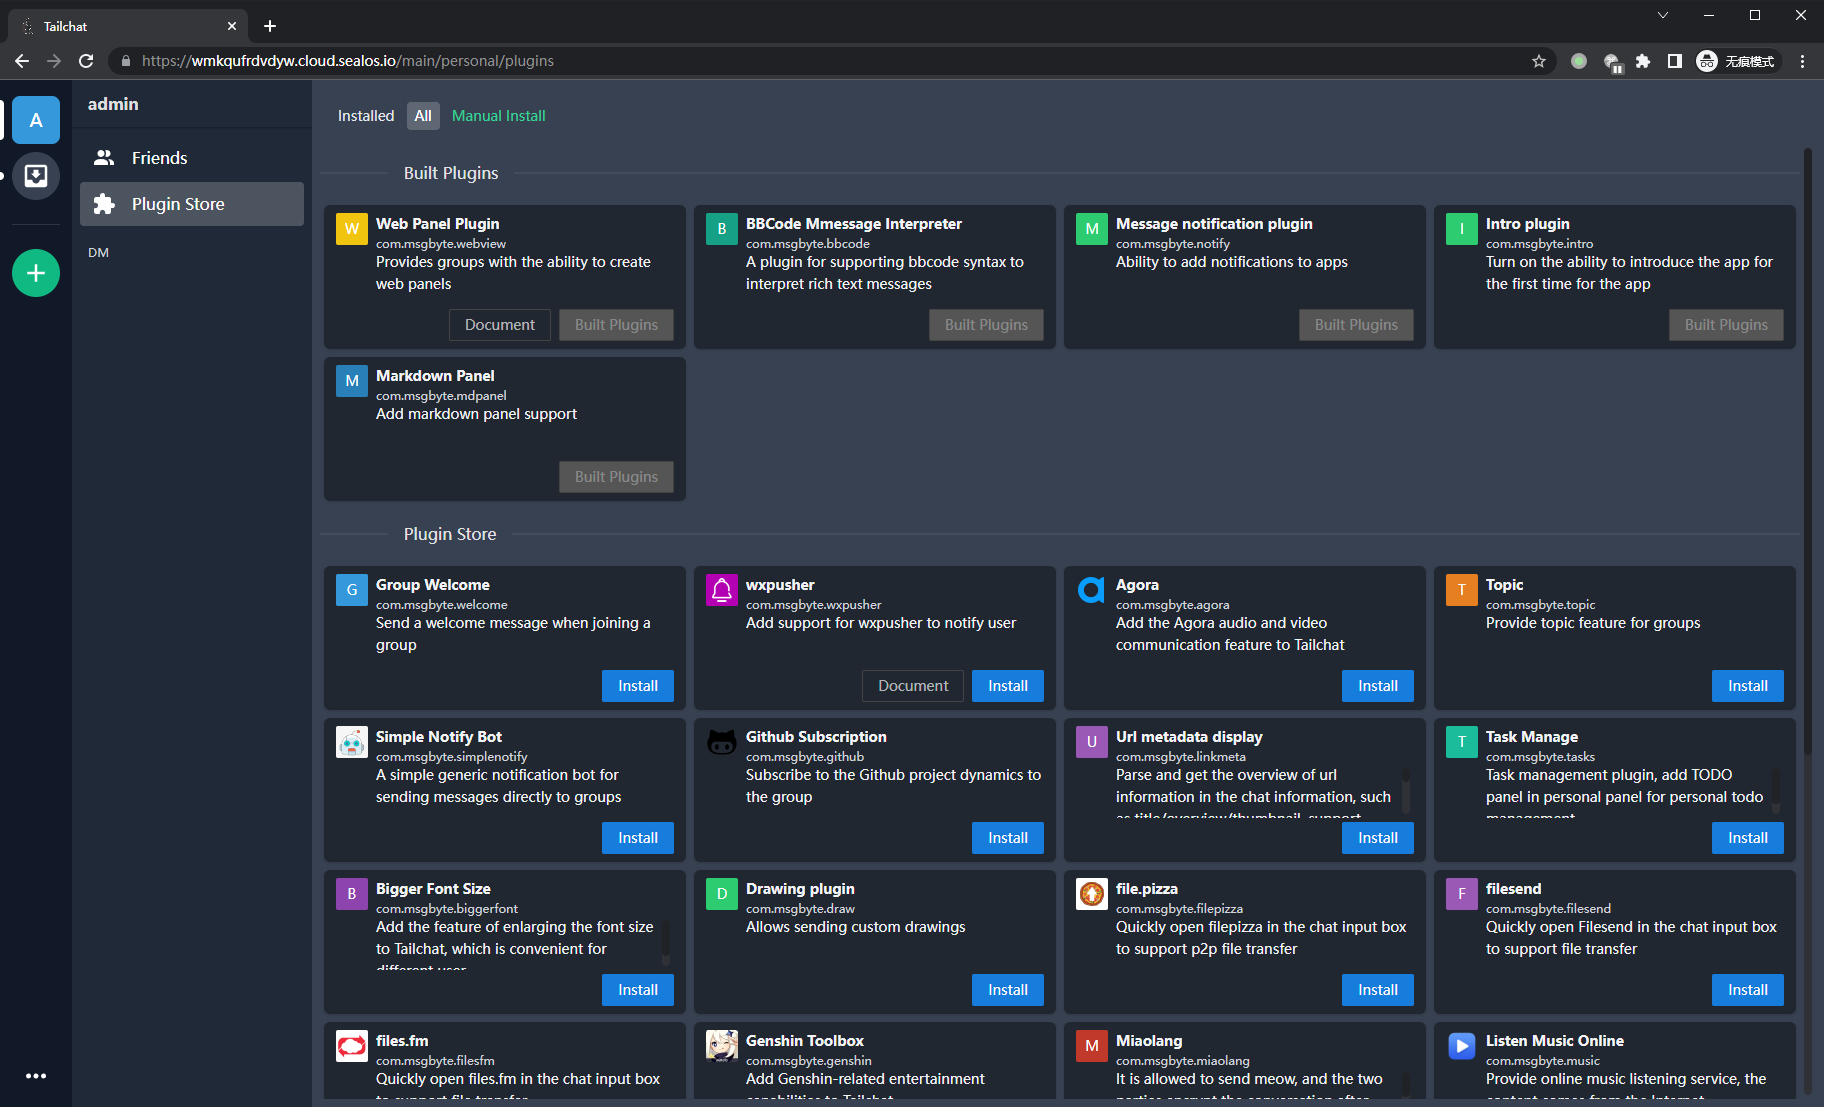
At this point, our service has successfully landed in Sealos.
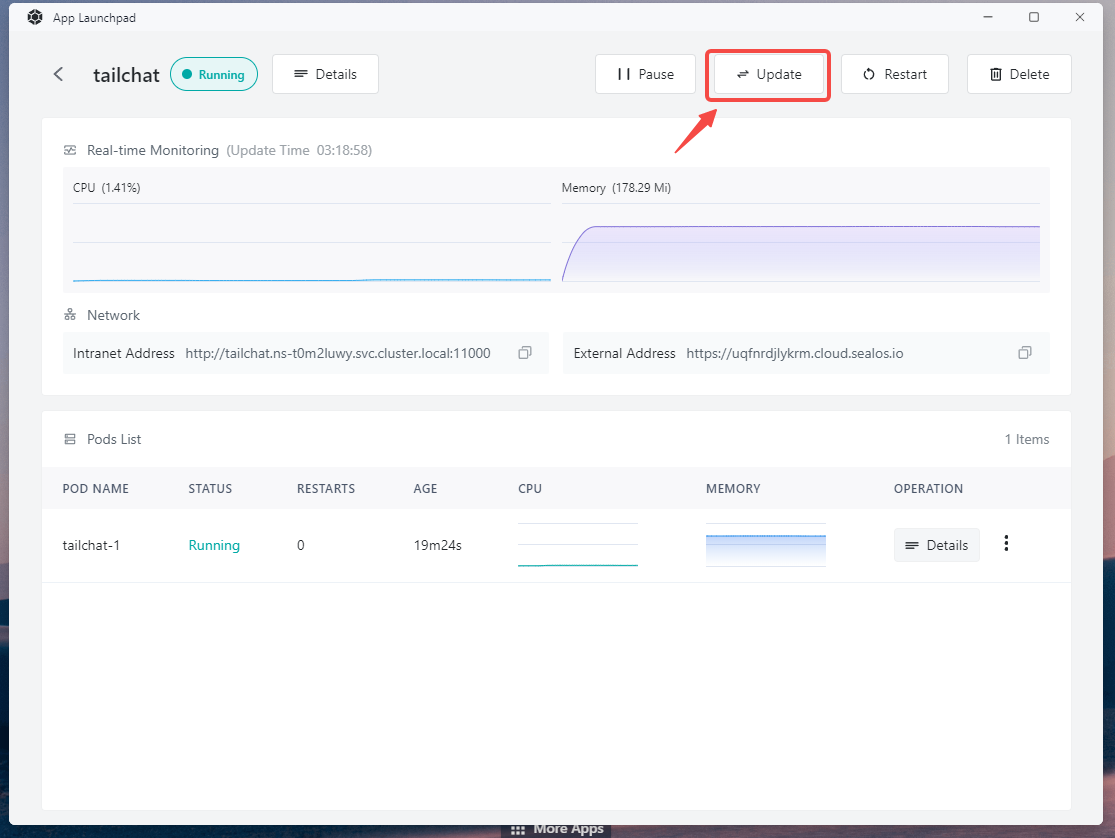
Scaling service
Of course, as a distributed architecture system, Tailchat naturally supports horizontal scaling. In Sealos, scaling is also very simple. Just modify the number of instances through the change operation:
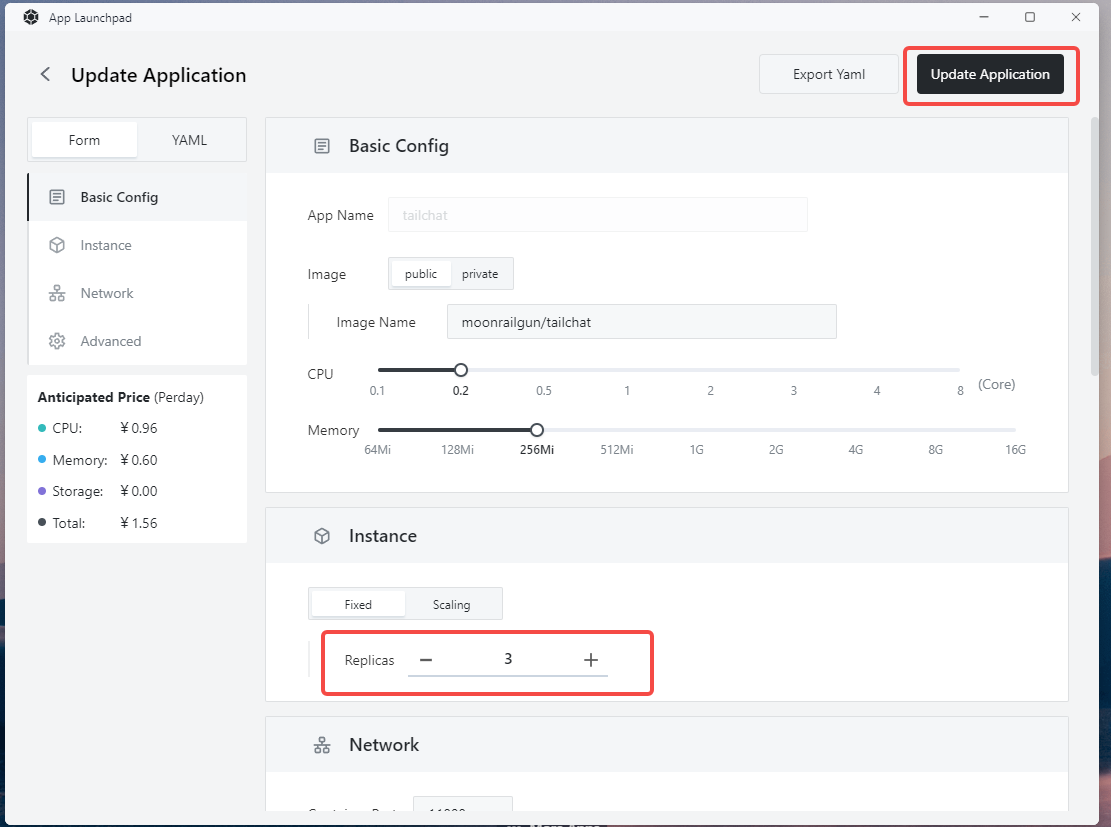
At this point, when we access https://<xxxxxxxxxx>.cloud.sealos.io/health, we can see that we can access different nodes.
Add Tailchat entry to desktop
Open Terminal, enter vim app.yml to create and edit a configuration file
Enter the following content, note that the url should be replaced with the url deployed by yourself
apiVersion: app.sealos.io/v1
kind: App
metadata:
  name: tailchat-app-entry
spec:
  name: Tailchat
  icon:
  type: iframe
  data:
    url: <Your url>
    desc:
  icon: https://tailchat.msgbyte.com/img/logo.svg
  menuData:
    nameColor: text-black
    helpDropDown:
    helpDocs:
  displayType: normal
Press esc to exit edit mode, press :wq to save and exit vim
Type kubectl apply -f app.yml to start the configuration.
After refreshing the page, we can see that our entry appears on the desktop of sealos